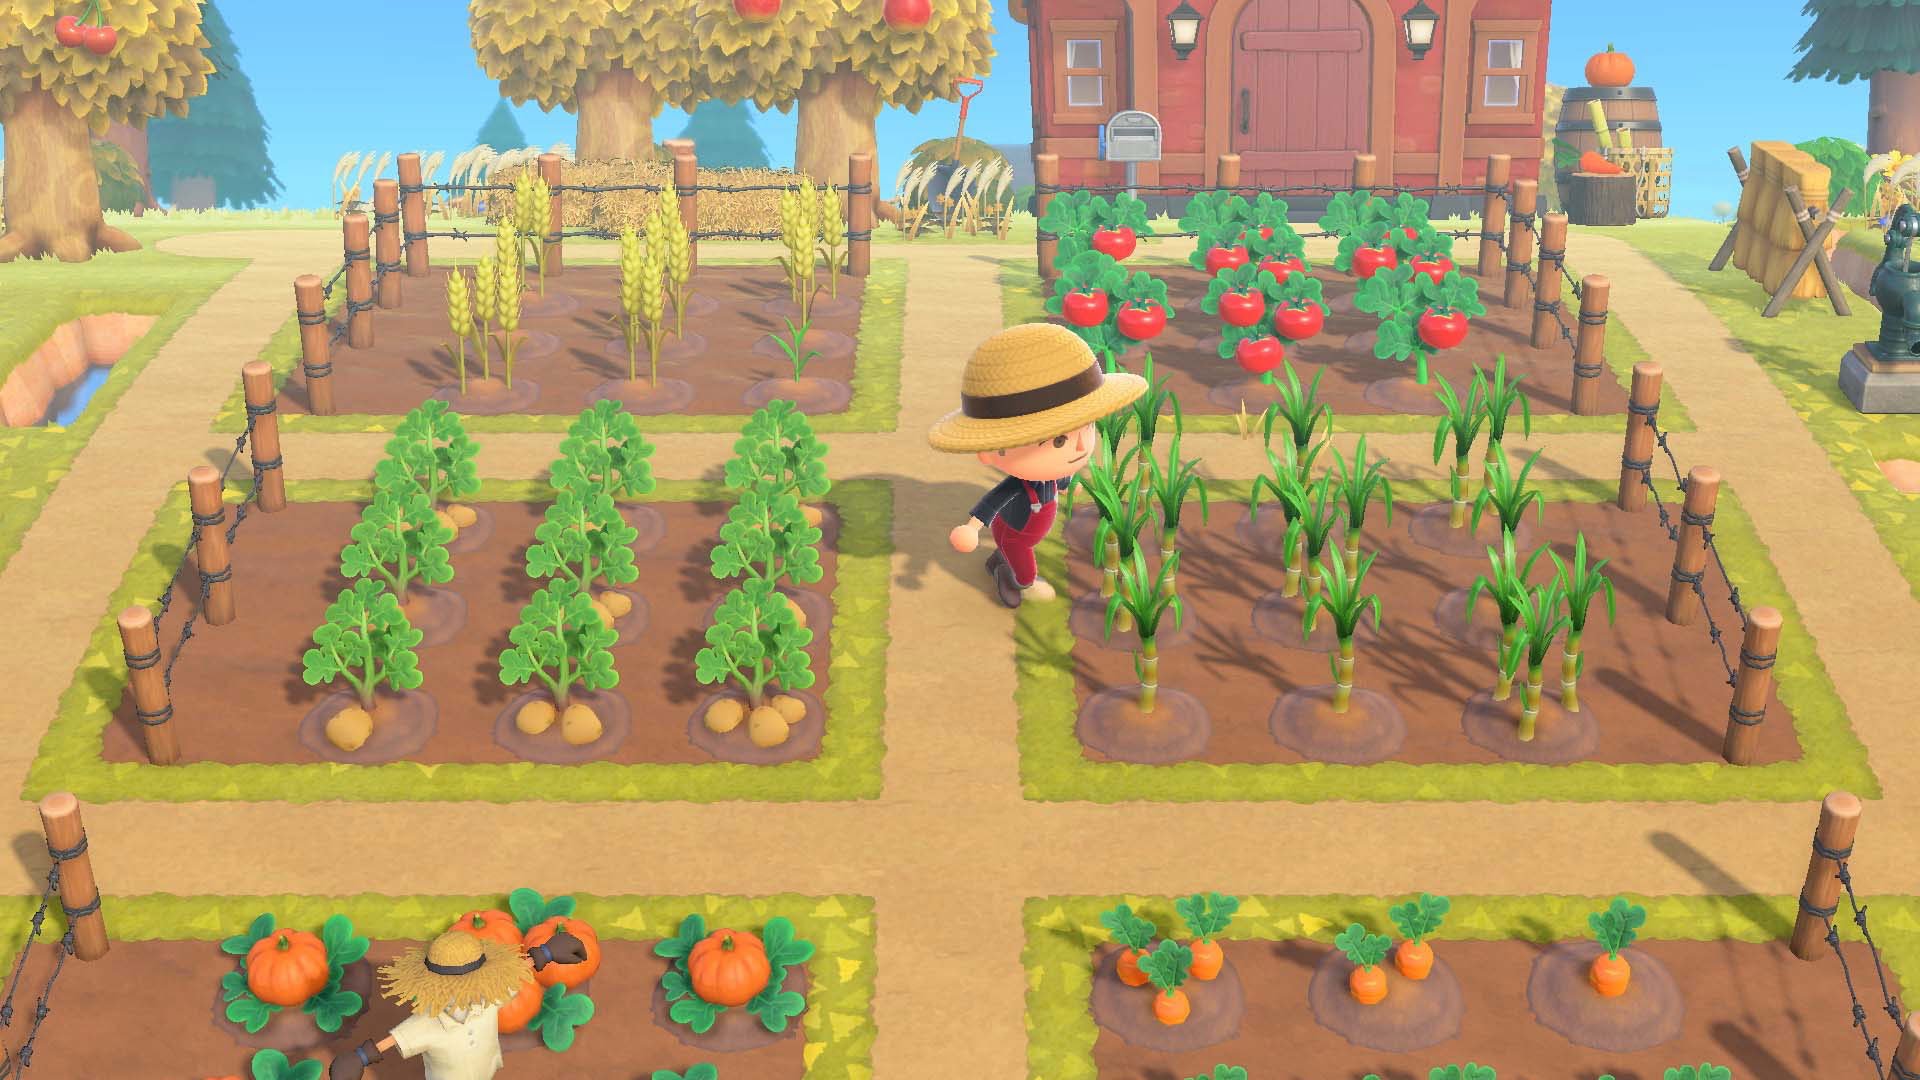
Update 2.0 is finally out in Animal Crossing New Horizons, bringing a whole slew of new additions and features for players to look forward to. This includes Brewster and the Roost, as well as a brand new cooking and farming system that gives you even more things to collect and decorate your island with. Here’s a full guide on how cooking works in Animal Crossing New Horizons, including a breakdown of how to get ingredients and DIY Recipes.
How to Cook in Animal Crossing New Horizons
If you’ve already got a few kitchen items in your house or on your island, you’re in luck. You can start cooking right away once you have some ingredients on hand and you’ve grabbed the Be a Chef! DIY Recipes+ items from the Nook Stop Terminal for 2,000 Miles.
Head over to the Resident Services building and interact with the terminal, then hit the Redeem Nook Miles option. Choose the Be a Chef! option, wait for it to download to your Nook Phone, and you’re good to go.
Any kitchen item like the system kitchen or kitchen island will do; simply walk up to it and press the A button to interact with it and you’ll be able to start cooking. It’s pretty similar to the DIY Workbench, except you’re prepping food instead.
You’ll see a full list of recipes you’ve unlocked so far, so just pick the one you want to prep and confirm your selection with the A button. Your character will prep the item and it’ll get added to your inventory.
Getting Ingredients
Of course, in order to cook all the exciting new food items in Animal Crossing New Horizons, you’ll first need to get your hands on some ingredients, and this can prove to be a bit tricky.
Most of the food items require flour, which require wheat. The good news is, Leif will start selling produce starts with update 2.0, so whenever he visits your island, you can start purchasing seeds and starts and planting them on your island to grow crops. Simply dig a hole with your shovel, plant the start, then water it. It’ll be ready for harvesting in about three days, and if you water it diligently, your yield will be higher as well.
With update 2.0, you can also fly over to Harv’s island and donate 100,000 Bells to help Leif set up a permanent shop there. This way, you don’t need to wait for Leif to visit your island and you can fly straight there to buy your starts whenever you need them.
These are all of the new crops available in the game so far:
- Wheat
- Tomatoes
- Sugarcane
- Potatoes
- Carrots
Pumpkins are also used in a few recipes, and those can also be bought from Leif.
As for the cooking DIY Recipes, a basic set can be purchased from Nook’s Cranny, and the rest will have to be obtained the usual way: by talking to crafting villagers, shooting down balloons, and getting them from bottled messages.
What Food Is For
Finally, you’ve put so much effort to obtaining your ingredients and you’ve prepared your first meal. But what is it for exactly?
Just like the fruits, you can eat your food to increase your energy meter, which allows you to break rocks with one hit. However, we don’t recommend eating it especially considering how grindy it can be to craft some of these food items.
Instead, you can gift them to villagers or your friends, and even use them as decoration items around your island.
That’s all you need to know about how cooking and farming works in Animal Crossing New Horizons. Be sure to check our guide wiki for more tips and information on the game.
- 8 Ways to Prepare for Animal Crossing New Horizons’ 2.0 Update & Happy Home Paradise
- What’s New in Animal Crossing New Horizons v2.0 Update? Everything You Need to Know
- What’s New in Animal Crossing New Horizons’ Happy Home Paradise DLC? Everything You Need to Know
- Disney’s Hercules Song Zero to Hero Recreated via Animal Crossing New Horizons
- Animal Crossing New Horizons User Adorably Re-Creates Rainbow Road
ncG1vNJzZmisp567p7XNoqueZp6awXB%2Bj2toaGlhZK6vtcyao2aboqTAtLXNoGSnnaditbC%2ByLOmp6tdmLywt8innmafpZ6xpnnIp56rnZSesq%2FA0madmqqdnruoew%3D%3D